Forms are everywhere: lead capture, registrations, surveys, feedback, sign-ups. They’re one of the easiest ways to collect data — but what happens after someone hits submit?
If you’re manually copying form responses into emails, or worse, not following up at all… you’re missing a big opportunity.
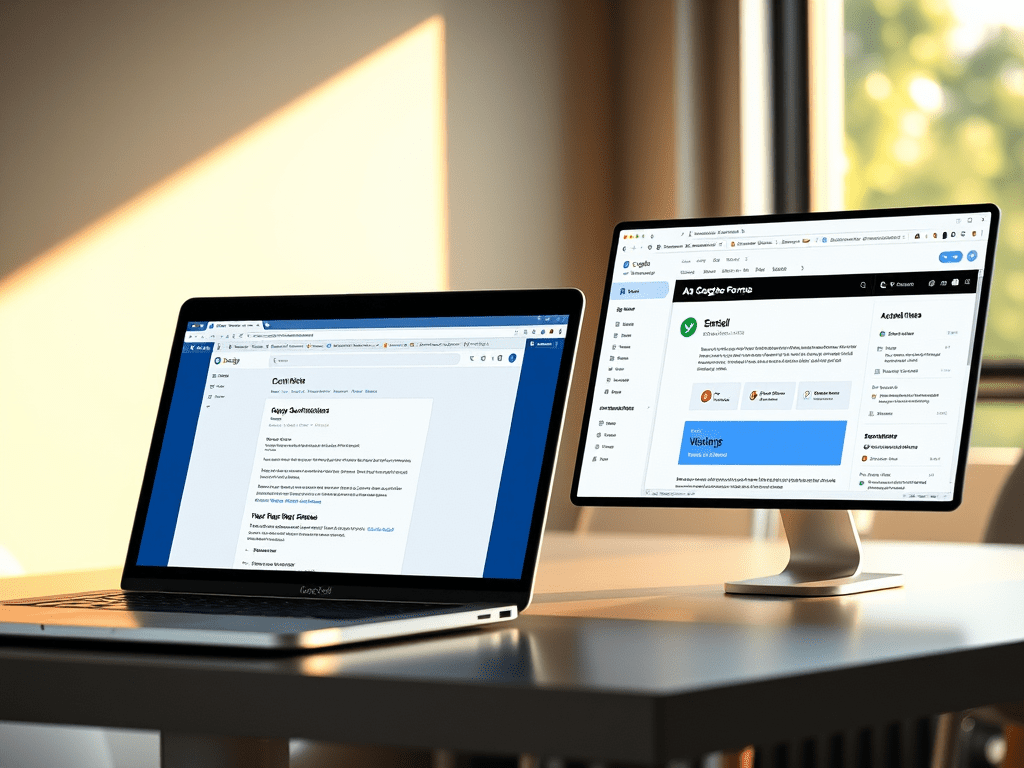
With Google Forms + Sheets + PostSheet, you can turn every submission into a personalized, automated email — instantly.
Let’s walk through how to make it happen.
Why Automate Emails from Form Submissions?
Forms are great at collecting info. But without a fast, thoughtful response, that momentum dies.
By sending personalized emails after submission, you can:
✅ Confirm receipt immediately
✅ Provide next steps or resources
✅ Start a sales or nurture sequence
✅ Thank someone for registering or attending
✅ Build a better experience — all on autopilot
And when it’s personalized, it feels high-touch — even if you’re sending to 100+ people a day.
Real Use Cases
📬 Lead capture → “Thanks for your interest! Here’s what happens next.”
🎫 Event sign-ups → “You’re in! Here’s your access link.”
🛒 Product interest forms → “Here’s your custom quote.”
🧪 Surveys or feedback → “Thanks for your input — here’s how we’re using it.”
🎓 Course sign-ups → “Welcome to the program! Start here…”
Basically, if someone fills out a form, you can automate what happens next.
Step 1: Create Your Google Form
Build your form like usual. Once someone submits it, the responses will land in a connected Google Sheet.
Example fields:
- Name
- Email
- Interest or Topic
- Preferred Date
- Company (optional)
- Custom question(s)
Google Forms auto-generates a timestamp and links everything to a spreadsheet. That’s your data source.
Step 2: Set Up Your PostSheet Email Template
In PostSheet, create a custom email using the merge fields from your form response sheet.
Example:
css
Copy
Subject: Thanks for reaching out, {{Name}}!
Hi {{Name}},
Thanks for submitting the form about {{Interest}}. We’ll be in touch shortly, but in the meantime, here’s a quick resource to get you started:
[Insert relevant link or next step]
If you had a specific question about {{Preferred Date}}, feel free to reply — we’re happy to help!
Talk soon,
[Your Name]
You can tailor this to any use case — sales, customer service, internal workflows, or onboarding.
Step 3: Connect the Form Responses Sheet to PostSheet
- In PostSheet, start a new campaign
- Choose your Google Sheet (connected to your form)
- Match the fields (Name, Email, etc.) to your template
- Preview a few to make sure everything looks right
- Send emails in batches or automatically when new responses come in
If you want it to run continuously, use a scheduling tool or trigger PostSheet via Zapier when a new row is added.
Optional: Customize by Form Type or Response
Add conditional content in PostSheet:
- If Interest = “Marketing”, send one template
- If Interest = “Design”, send another
Or use logic to vary messaging by preferred date, company size, or urgency.
This turns your one-size-fits-all email into a truly personalized experience.
Why This Works Better Than Standard Form Autoresponders
Basic form confirmation messages are usually:
❌ Generic
❌ Plain text
❌ Unpersonalized
❌ Not trackable
With PostSheet, you get:
✅ Branded, professional emails
✅ Dynamic personalization
✅ Control over content and timing
✅ Email tracking (opens, clicks, replies)
✅ The power to follow up again later
Tips for Success
- Use a “Status” column in your form response sheet to track follow-ups
- Schedule email sends daily or hourly to stay responsive
- Include helpful links, CTAs, or next steps
- Collect only the info you actually use — keep forms short and friendly
- Reuse the same setup for multiple forms (just duplicate your sheet + template)
Final Thoughts: Turn Submissions Into Conversations
Forms are the start of a relationship — but how you follow up is what makes people feel heard.
With PostSheet, you can turn every form submission into a well-timed, well-written, personalized message — and do it at scale, without lifting a finger.
Start automating your form follow-ups now →
Try PostSheet
